Assembly
This page describes how to assemble a keyboard half. You will need a screwdriver for M2 screws.
Don’t use too much force when screwing the parts together or you can damage the keyboard.
-
Take the PCB, bottom part of the casing and 4 M2x8 screws. Put the PCB in the casing and screw it from the bottom.
 Screwing bottom casing to PCB
 -
Fit the top part of the casing into the bottom part, then screw the top plate to the PCB using 4 M2x8 screws.
 Screwing top casing (bottom transparent)
 Screwing top casing (bottom hidden for visibility)
 -
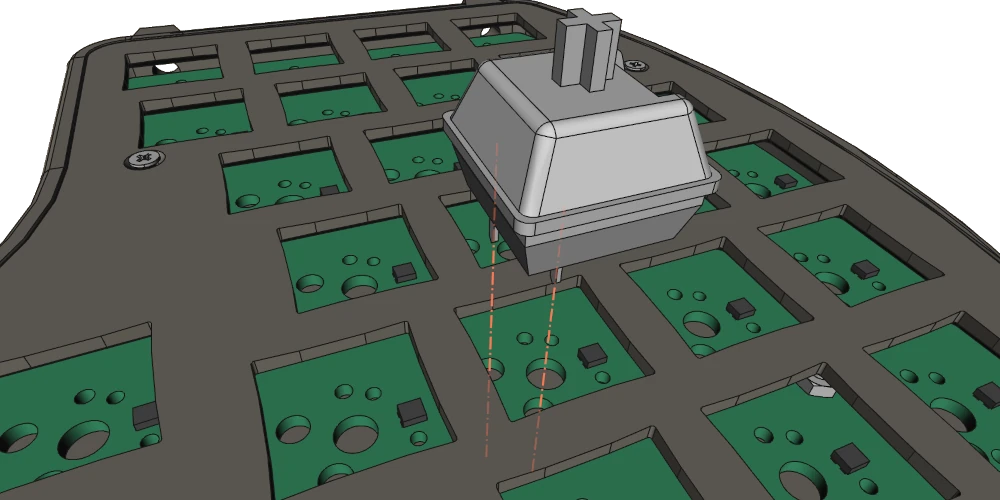
Insert mechanical switches into the holes in the top plate.
-
Make sure that you put the switch in the correct direction — the pins of each switch should go into corresponding holes in the PCB.
-
When inserting the switch first gently put it on the top plate and then push from top such that it does not rotate — otherwise you may twist the pins of a switch. If the pins get twisted anyway then you can take out the switch and straighten the pins by gently bending the metal.

-
-
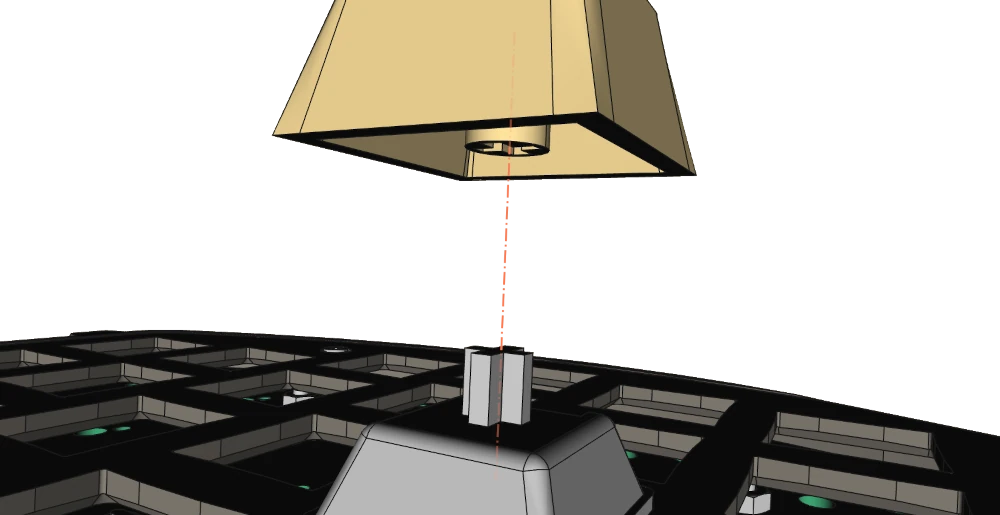
Put the keycaps on the switches. You may want to put the letters/keys in a way that reflect the keyboard layout that you configured in the keyboard configurator.
