Components
This page describes individual components that make up the keyboard.
PCB
PCB stands for Printed Circuit Board. This is the heart of the keyboard, it contains all the electrical components that are essential for the keyboard to work.
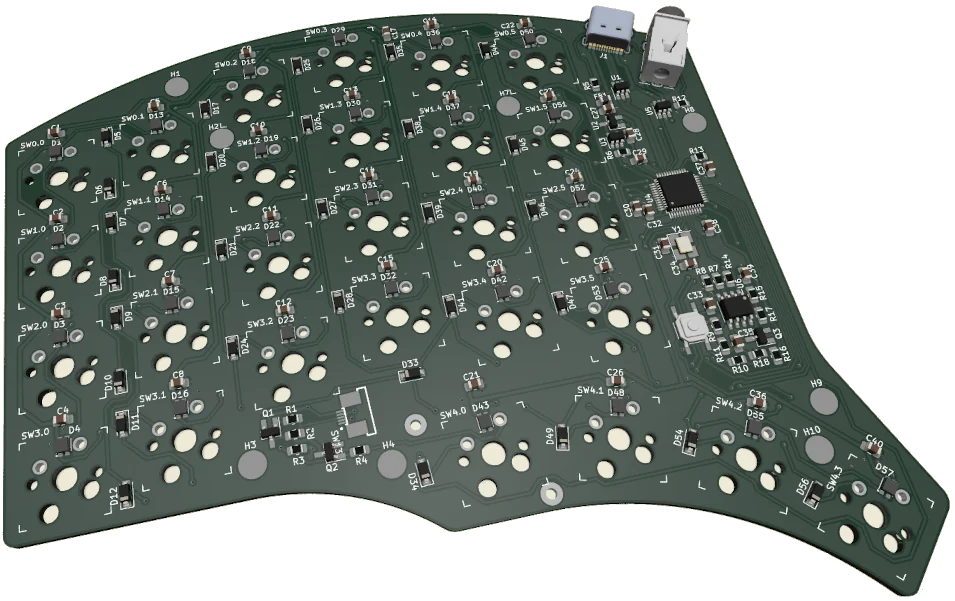
When working with the PCB avoid touching any electrical components or exposed copper pads due to potential electrostatic discharge that could damage the components. When holding the board try to only touch the edges when possible.
You generally should not need to change anything on the PCB. The only thing you might be interested in are the hot-swap sockets located on the bottom side of the PCB. In case a hot-swap socket does not work and you have verified it using multiple switches, you can unsolder the hot-swap socket and replace it with a new one.
Hot-swap sockets
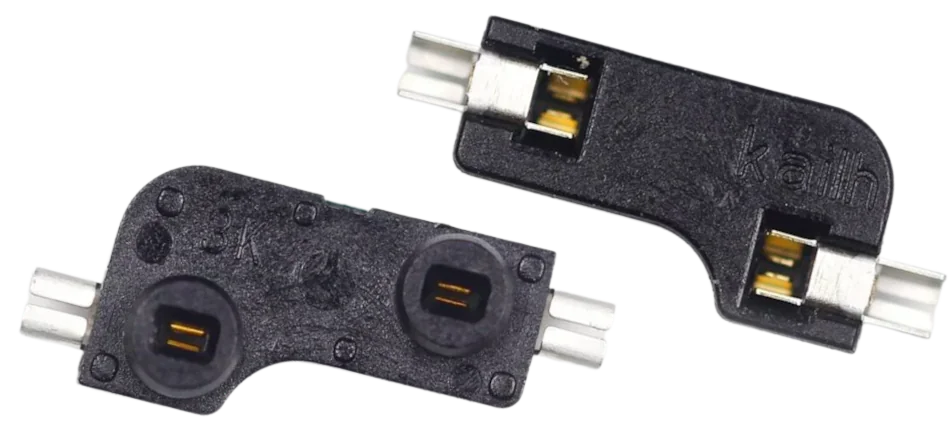
The hot-swap sockets used in this keyboards are compatible with Kailh Hot-Swap sockets. These sockets allow you to easily replace keyboard switches without any soldering.
Mechanical switches
Switches are the components that determine how it feels to write on the keyboard. There are many different types of mechanical switches available on the market. They are usually described by colors which by convention correspond to mechanical characteristics of the switch. Depending on the choice of switches the keyboard can be loud/silent, tactile/linear, etc. Select the type of switches that suits you best, considering the requirements described below.
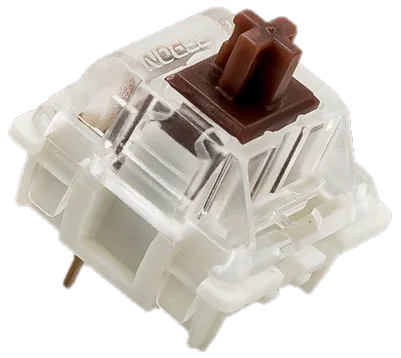
Our keyboard is compatible with Cherry MX switches and any other switches that state they are “compatible with Cherry MX” (which means most switches on the market). However, if you want the RGB LED lighting to be visible, select switches with transparent top. These are often described as “RGB switches”. Furthermore, there are 3-pin or 5-pin switches available. Our keyboard is compatible with both types, but the 5-pin switches should be more stable in the mount.
Keycaps

Keycaps are the components the determine the look and feel of the keyboard. There are a different colors and keycap profiles available. When selecting the keycaps for ortholinear split keyboard (like our keyboard) it is recommended to use keycaps profile that has keys of the same shape across different rows. We recommend using XDA or DSA profiles. Our keyboard uses only 1-unit keys (1u) and there are 56 keys in total.
Casing
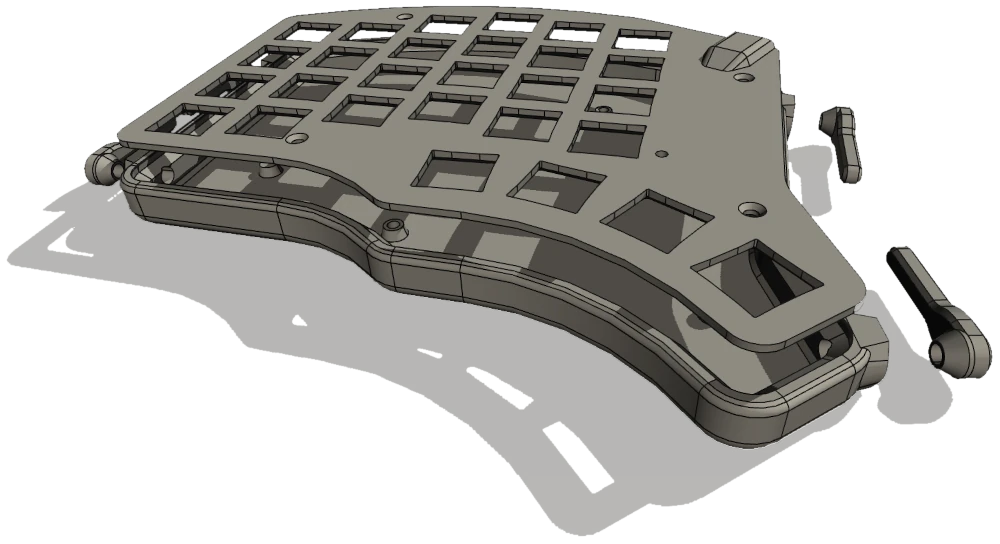
The casing consists of symmetrical parts for the left and right keyboard half. Each half consists of a top plate and base plate. Both plates are screwed to the PCB to hold everything in place. On the sides of the base plate there are 4 leg holes that are used to screw the legs to the casing.
USB-C cable
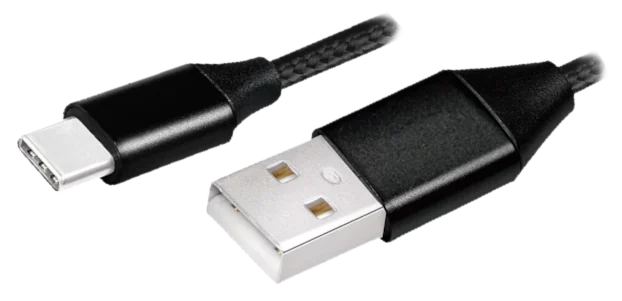
The USB-C cable is used to connect the keyboard to the computer. It supplies power to the keyboard and is used for communication between the devices. When buying a cable select the cable length that suits you best, but make sure that the cable is not a “power-only” cable, as this will prevent communication with the PC and your keyboard will not be visible.
Audio Jack cable
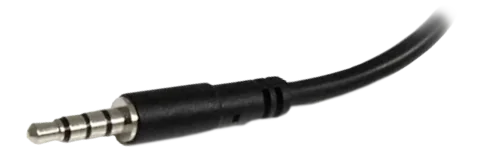
Audio Jack cable is used to connect the two keyboard halves with each other. It provides power from the half which is connected to PC to the other one. It also allows the halves to communicate. The cable used must be a TRRS cable (used e.g. in PC headsets), which stands for “tip, ring, ring, sleeve” and means that there are 4 separate electrical paths visible on the plug. Each electrical path is separated from the others with a short black stripe (so there will be 3 black stripes).