Getting started
You just received your keyboard and don’t know where to start? Fear not, you will find everything you need to know in the following pages.
What’s included?
The keyboard consists of the following parts:
- 2 soldered PCBs (Printed Circuit Boards, left and right)
- this includes 56 hot-swap sockets (already soldered)
- 2 sets of keyboard casing (left and right), which includes:
- 2 top plates (left, right)
- 2 base plates (left, right)
- 4 short legs
- 4 long legs
- 8 leg screws (M3x10)
- 16 casing screws (M2x8)
- 1 USB-C cable
- 1 TRRS Audio Jack
- 2 wrist pads
- 1 carrying case
- (optional) 56 mechanical switches (Gateron brown)
- (optional) 56 keycaps
See Hardware components for more information.
How to assemble the keyboard?
The keyboard comes already assembled, but you may need to install the switches/keycaps. If you want to use your own switches/keycaps, or need to disassemble the keyboard for any other reason, please see the assembly instructions.
Connecting
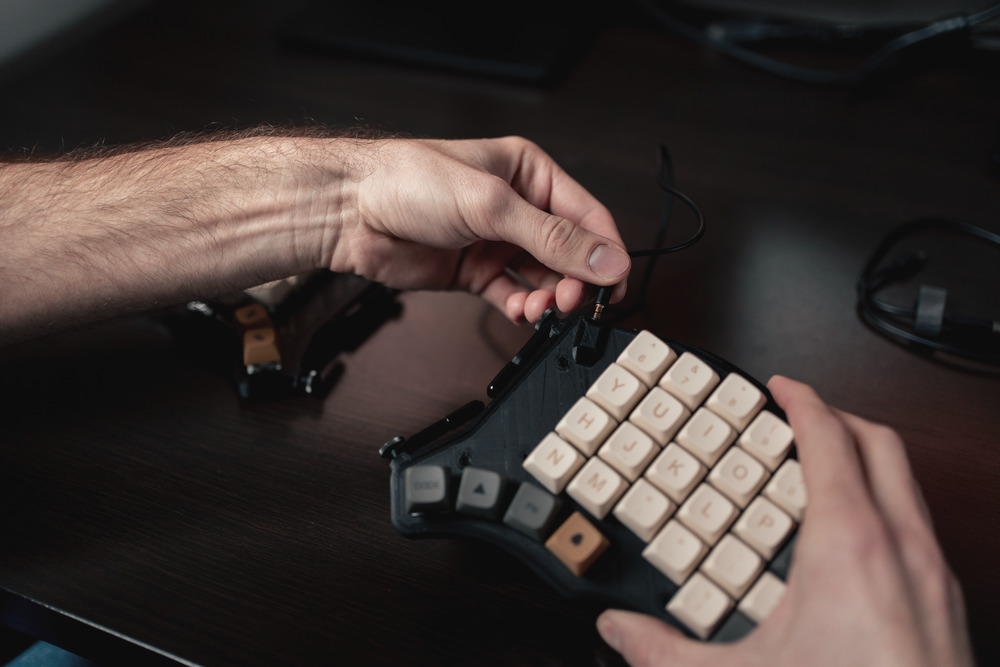
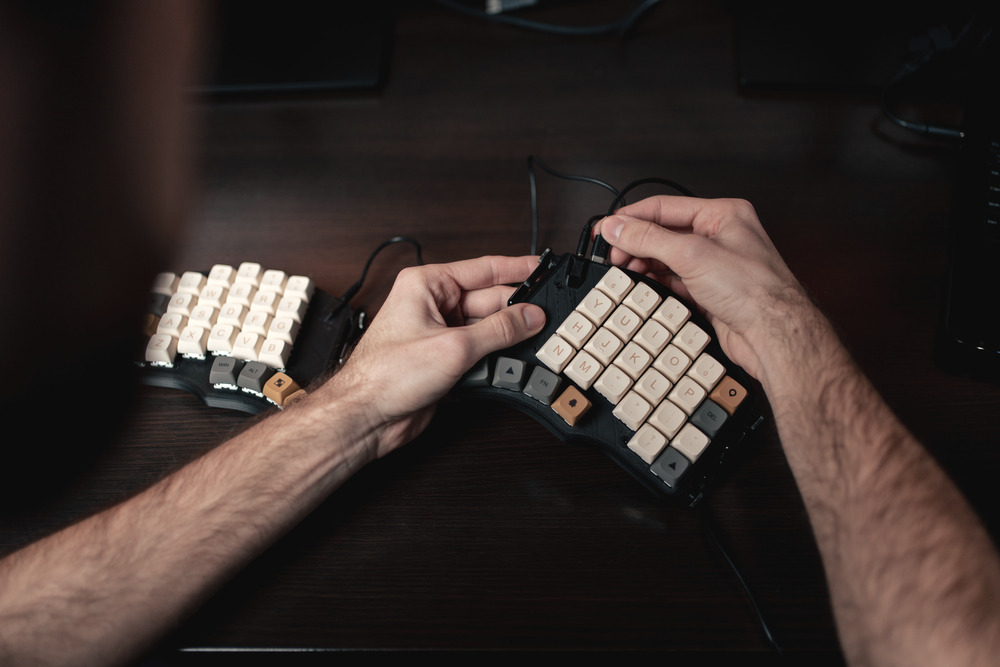
Your keyboard comes ready-to-use, configured with the default layout. To use it you first need to connect the two halves using the TRRS Audio Jack cable.

Then connect the keyboard to your computer using USB-C cable.

It does not make a difference which half will be connected, so select the one that you prefer.
After connecting to PC, the keyboard should be recognised by your operating system (Windows/Mac/Linux) and you should be able to use it.
Position
The keyboard comes in two halves and you most likely want to take advantage of that fact. You should sit comfortably and put your hands on the desk in a natural position, such that your arms are roughly spread your shoulder width. Now put the keyboard in such a way that you can sit in this natural position with your hands lying comfortably on the keyboard.
We encourage to use the provided wrist pads, this way your wrists can stay in a natural position avoiding bending wrists upwards (which could cause wrist health issues).

When you found the right position you can use the keyboard legs to tilt the keyboard to your liking. To tilt the keyboard, first slightly loosen the leg screws, then rotate the legs to achieve desired angle and finally tighten the screws again. Some people like to tilt their keyboard, some prefer to not use the legs and lay the keyboard flat on the desk, it all comes down to personal preferences, so find out what you like!
What next?
Learn the basic concepts if you’re new to the topic of ortholinear split keyboards or jump directly to the description of the default layout. Later you will see how to load a different configuration in the keyboard configurator section.